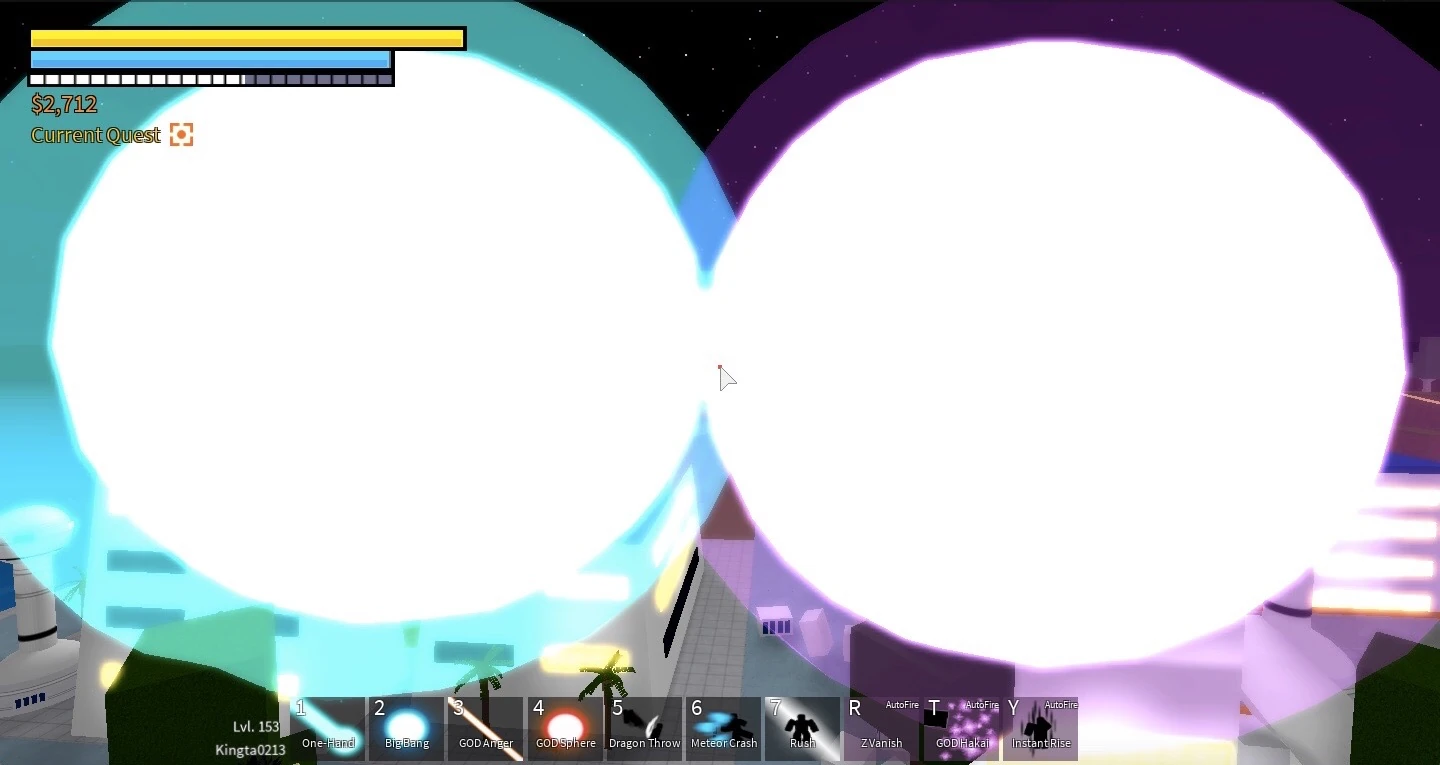
A beam clash (sometimes referred to as beam struggle) occurs when two players fire a wave or beam of any type (chargeable or non-chargeable) at each other, causing the beams to collide with each other.
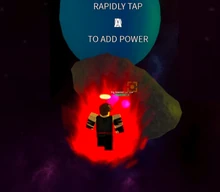
To start a beam clash, two participants (player or NPC) must face each other from a fair distance. Then, the two must ready their beams, and fire at each other at the same time. When the two beams collide, a text will hover above saying, "RAPIDLY TAP [key] TO ADD POWER". The key stated is randomized.
If a player has more power during the clash, their attack will cancel the other one, and keep on extending until it hits the other player, dealing extra damage.
Bugs[]
Beam Clashing with a Beam Scatter
If one beam clashes with Beam Scatter, multiple beam clashes will happen at once. This means that the text will show the normal "RAPIDLY TAP [key] TO ADD POWER", but the key stated will come out in what seems to be a bunch of letters on top of each other.
Sometimes, during a beam clash, the beams will not be combined together fully.
If a player dies or leaves the game during a beam clash, the other player will keep on firing the beam and will remain immobile, until they reset.
Trivia[]
It is possible to beam clash with lasers (i.e. Super Death Beam, God of Destruction Anger) with a much larger beam (i.e. Kaioken x4 Kamehameha).
Some beams are stronger agaist others in a clash, below is a list of tiers for each beam (The higher, the better, this list is also not fully accurate.)
Tier 1: Energy Wave.
Tier 2: Kamehameha, Galick Gun, Warp Kamehameha.
Tier 3: Broly Kamehameha, One-hand Kamehameha, Flame Kamehameha, Dark Beam, Buu Blaster, Final Shine.
Tier 4: Final Flash, Final Kamehameha.
Tier 5: Kaioken Times 4 Kamehameha.
The following ki moves that cannot be used in beam clashes are as follows:
Double Sunday.
Destructo Disk/Chain Destructo Disk/Death Saucer.
Explosive Wave.
Tribeam.
Burning Blast.
Special Beam Cannon.
Spirit Blast.
Big Bang Attack..
Super Volley.
Finish Breaker.
Hellzone Grenade.
Heat Dome Attack (presumably).
Big Bang Kamehameha.
Sudden Storm.
Spirit Bomb.
Super Spirit Bomb.
Crusher Ball.
Big Bang Kamehameha.
Sudden Storm.
Demon Flash.
Milky Cannon.
Murder Grenade.
Supernova.
Genocide Shell.
Break Cannon.
Hell Pillars.
Justice Flash.
Pressure Gauge.
Holy Wrath.
Double Buster.
Divine Lasso.
Emperor's Edge.
Unrelenting Volley.
Explosive Grip.
Double Buster (presumably).
Blaster Meteor.
Eraser Cannon.
Planet Crusher.
Gigantic Breath.
God of Destruction Wrath.
God of Destruction Sphere.
God of Destruction Hakai.
It is possible to have two NPCs beam clash.
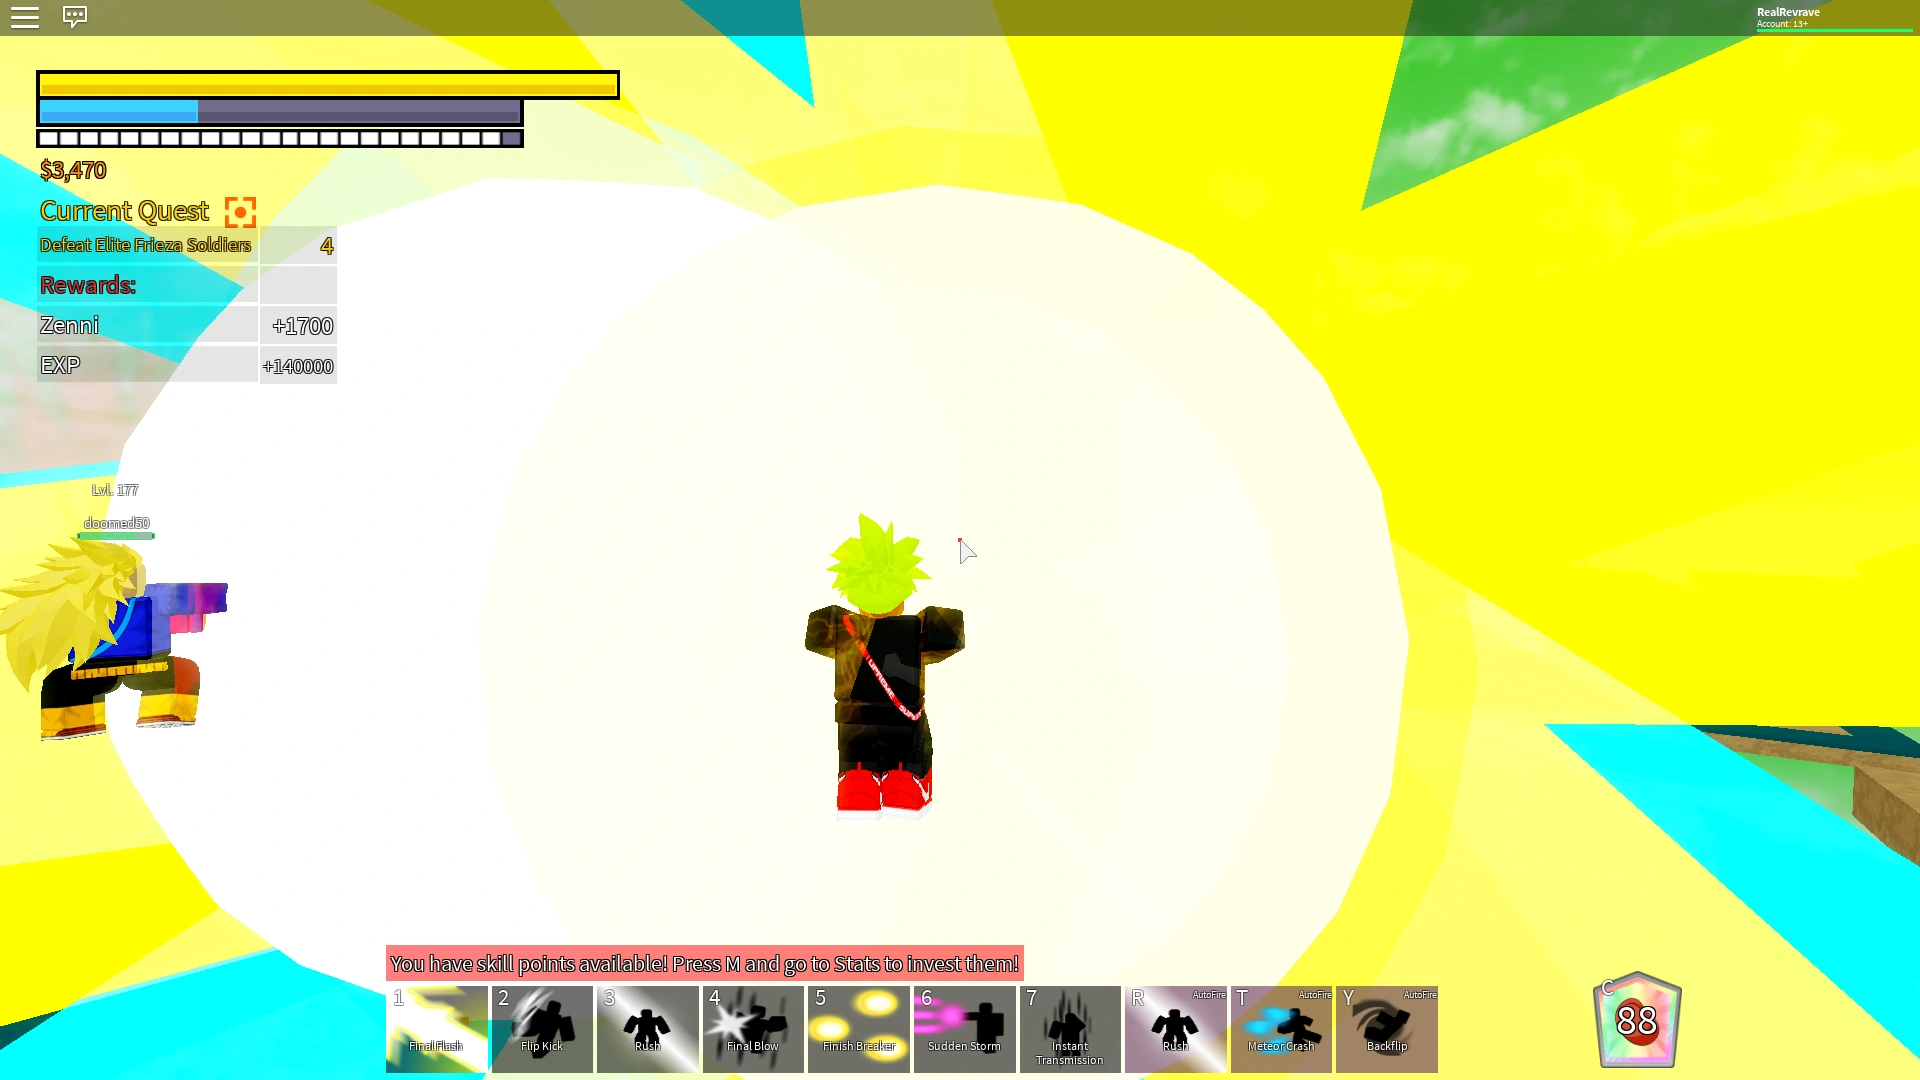
Beam Combination Mechanics[]
Final Flash x Kamehameha
To combine two or more beams, two players must stand adjacent to each other (The radius of the larger beam to make the beam combo easier.) (If with more than two beams, the largest beams in the middle). Next, charge the two (or more) beams in the same direction and fire both of them near the same time.
NOTE: The beams have to be fired in the same direction but not at the exact same frame.
It is also possible to combine two or more beams by yourself. To do so, one would have to charge a beam and quickly start to charge another after inputting instant rise or backflip.
NOTE: Beams of the same size may collide with each other. Beam combination involving one person is easier using beams of different sizes, the biggest beam being blasted first.
Trivia[]
When two or more beams are fused, the spikes on the arc of each beam travel around the arc of all combined beams.
If a few people were to fuse many Kamehamehas of the same color, the spikes around the arc would apppear to be covered in that specific color.
